The Kenmore Bread Maker is a versatile and user-friendly appliance designed to simplify bread-making at home. It offers automatic operation, consistent results, and ease of use, making it ideal for both beginners and experienced bakers. With its advanced features and customizable settings, this bread maker ensures perfect loaves every time, catering to various preferences and dietary needs.
1.1 Overview of the Kenmore Bread Maker
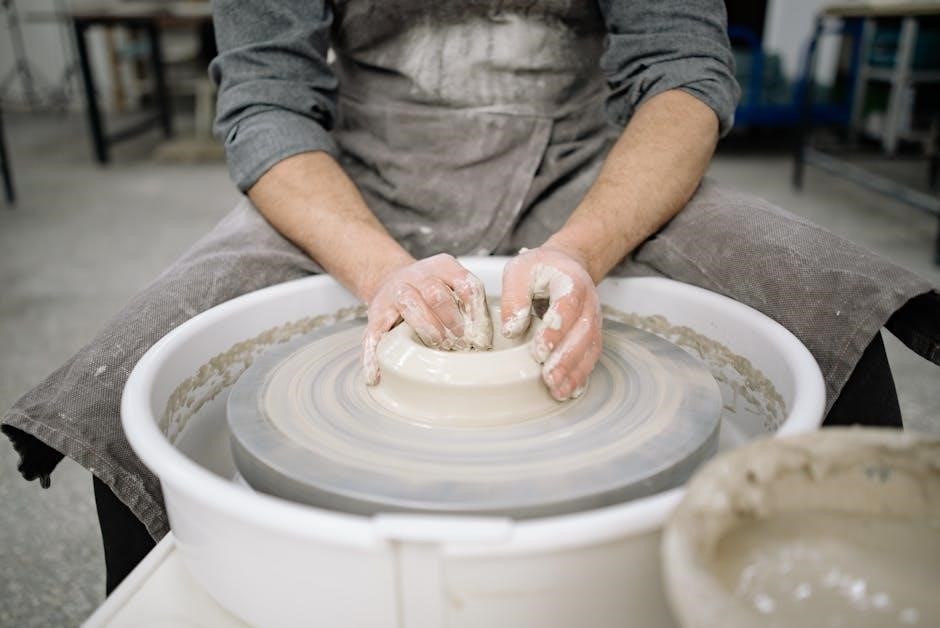
The Kenmore Bread Maker is a user-friendly appliance designed to simplify the bread-making process. Available in models like the Kenmore 48487 and Kenmore 100.12934, it offers automatic operation, customizable settings, and preset programs for various bread types. Features include adjustable crust color, loaf size options, and a convection fan for even baking. The machine is ideal for both novice and experienced bakers, providing consistent results with minimal effort. Its compact design and easy-to-use interface make it a practical addition to any kitchen. With the Kenmore Bread Maker, users can enjoy freshly baked bread tailored to their preferences, ensuring a perfect loaf every time.
1.2 Importance of Reading the Manual
Reading the Kenmore Bread Maker manual is essential for optimal performance and safety. It provides detailed instructions on proper usage, safety precautions, and troubleshooting. The manual outlines key features, operation modes, and maintenance tips, ensuring users understand how to utilize the machine effectively. By following the guidelines, users can avoid potential hazards, such as improper temperature settings or incorrect ingredient measurements. Additionally, the manual offers recipes and customization options, helping users achieve the best results. Regular maintenance instructions, like cleaning and storage tips, are also included to prolong the appliance’s lifespan. Ignoring the manual may lead to suboptimal performance or damage, making it a crucial resource for both new and experienced users.
Safety Precautions
Always follow safety guidelines to ensure safe operation. Keep the bread maker away from children, avoid overheating, and never use it near water. Regular cleaning and proper maintenance are essential to prevent hazards. Ensure the room temperature is above 65°F for optimal performance and safety.
2.1 General Safety Guidelines
To ensure safe operation of the Kenmore Bread Maker, always follow these guidelines. Keep the appliance out of reach of children and avoid placing it near water sources. Never submerge the bread maker in water or expose it to excessive moisture. Ensure the unit is placed on a stable, heat-resistant surface. Avoid overloading the machine with ingredients, as this can cause imbalance or malfunction. Regularly inspect the power cord and plug for damage. Do not operate the bread maker if it is damaged or malfunctioning. Always unplug it when not in use or during cleaning. Maintain proper ventilation to prevent overheating, and never leave the appliance unattended during operation. Adhere to these precautions to ensure safe and reliable performance.
2.2 Specific Safety Instructions
Always ensure the bread maker is placed on a heat-resistant surface and keep it away from flammable materials. Avoid using metal utensils or sharp objects near the machine, as they may damage the pan or other components. Never open the lid during operation, as hot steam may escape and cause burns. Keep the machine away from children and pets to prevent accidental tampering. Do not use abrasive cleaners or scouring pads, as they can damage the finish or internal parts. Ensure the room temperature is above 65°F for proper dough rise. Avoid overloading the machine with ingredients, as this can lead to uneven baking or machine imbalance. Always unplug the bread maker before cleaning or performing maintenance. Follow these specific instructions to ensure safe and efficient operation.
Parts and Features
The Kenmore Bread Maker features a user-friendly control panel, a non-stick baking pan, and a clear viewing window. It includes a mixing paddle and customizable settings.
3.1 External Components
The Kenmore Bread Maker features a sleek and durable exterior with a user-friendly control panel, including a digital display and buttons for easy operation. The lid provides access to the interior and includes a viewing window to monitor the baking process. External components also include a carrying handle for portability and vent openings for proper cooling. The exterior is designed with a stainless steel finish, offering a modern appearance while maintaining ease of cleaning. These components ensure a seamless and efficient bread-making experience, combining functionality with aesthetic appeal to fit seamlessly into any kitchen setting.
3.2 Internal Components
The internal components of the Kenmore Bread Maker include a non-stick baking pan with a handle for easy loaf removal and a kneading paddle that ensures thorough dough mixing. The heating element and convection fan are designed to provide even baking and cooling. Additionally, the bread maker features a smart sensor that monitors temperature and baking progress, ensuring optimal results. The interior is constructed with durable materials to withstand frequent use, and the pan is dishwasher-safe for convenient cleaning. These internal components work together to deliver consistent, high-quality bread, making the Kenmore Bread Maker a reliable choice for home bakers of all skill levels.
Assembly and Installation
Unpack the bread maker, ensuring all components are included and undamaged. Place it on a stable, level surface, away from heat sources, and plug it in.
4.1 Unpacking and Initial Setup
Begin by carefully unpacking the Kenmore Bread Maker from its box. Ensure all components, including the bread pan, kneading paddle, and measuring cups, are included and undamaged. Place the appliance on a stable, flat surface in a well-ventilated area, away from direct sunlight and heat sources. Before first use, wipe the exterior and interior with a damp cloth to remove any packaging residue. Plug the bread maker into a nearby electrical outlet, ensuring it is easily accessible. Familiarize yourself with the control panel and settings. Read the safety precautions and operating instructions thoroughly to ensure proper use and maintenance. Leveling the appliance is crucial for even bread baking.
4.2 Placement and Leveling
Place the Kenmore Bread Maker on a stable, flat surface, ensuring good ventilation. Avoid areas near direct sunlight, ovens, or other heat sources, as this could affect performance. Position the appliance away from walls to allow proper airflow. Leveling is essential for even bread baking. Locate the adjustable feet on the bottom of the machine and twist them to ensure the bread maker sits level. Use a spirit level to verify even placement. Once leveled, ensure the appliance remains stable to prevent movement during operation. Proper placement and leveling ensure consistent results and prevent mechanical strain. Follow these steps to optimize your bread maker’s performance and longevity. Always refer to the manual for precise leveling instructions specific to your model. This step is crucial for achieving perfect loaves every time.
Operating Instructions
Operating the Kenmore Bread Maker is straightforward. Simply add ingredients, select the desired settings on the control panel, and let the machine handle the rest. Ensure all settings align with your recipe for optimal results. Always monitor the process through the viewing window to confirm proper progress. Regularly clean and maintain the machine for consistent performance. Refer to the manual for detailed step-by-step guidance on basic and advanced functions to make the most of your bread-making experience.
5.1 Basic Operation
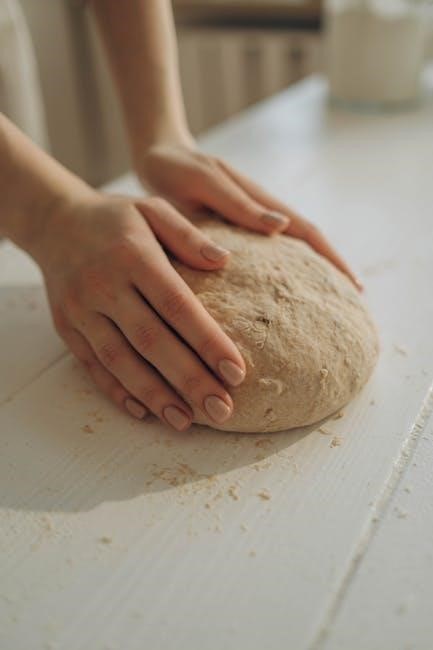
Operating the Kenmore Bread Maker is straightforward. Start by ensuring the bread pan is properly placed in the machine. Add ingredients in the recommended order: liquids first, followed by dry ingredients, with yeast last. Close the lid securely. Use the control panel to select the desired loaf size, crust color, and program. Choose from basic, whole wheat, or rapid settings. Press Start, and the machine will handle mixing, kneading, rising, and baking. Monitor progress through the viewing window. Avoid opening the lid during operation to maintain consistent temperature. Once the cycle completes, allow the bread to cool before slicing. Regular cleaning ensures optimal performance. Always follow manual guidelines for best results.
5.2 Advanced Settings
The Kenmore Bread Maker offers advanced settings for customization. Users can program specific loaf sizes, crust colors, and baking times. Delay start allows you to prepare ingredients and set a timer for fresh bread later. Custom programs enable tailored settings for gluten-free, sourdough, or specialty breads. The yeast proofing function ensures active yeast before baking begins. Selecting the right crust color—light, medium, or dark—ensures your preference is met. Some models feature a convection fan for even cooling. These settings provide flexibility for various recipes and preferences, allowing you to experiment with different bread types and achieve professional-quality results at home. Always refer to the manual for detailed instructions on using these features effectively.

Recipes and Cooking Options
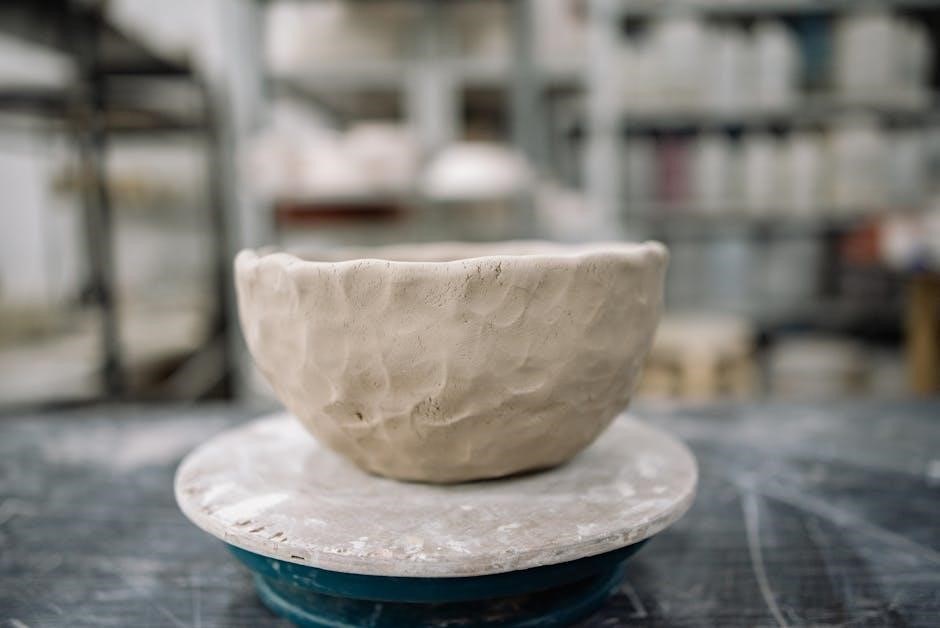
The Kenmore Bread Maker supports a variety of recipes, from basic white loaves to custom creations. Explore options for gluten-free, sourdough, and specialty breads with ease.
6.1 Basic Recipes
Start your bread-making journey with the Kenmore Bread Maker’s basic recipes. These include classic white, whole wheat, and French bread options. Each recipe is designed to guide you through the fundamental steps of bread-making, ensuring perfect results. The manual provides clear ingredient measurements and straightforward instructions, making it easy to produce delicious loaves. With these simple recipes, you’ll master the basics quickly and confidently, ready to experiment with more complex creations. The Kenmore Bread Maker’s user-friendly interface and pre-programmed settings ensure that even novice bakers can achieve professional-quality bread effortlessly.
6.2 Custom Recipes
The Kenmore Bread Maker allows you to go beyond basic recipes by creating custom bread tailored to your preferences. Experiment with unique ingredient combinations, such as gluten-free flours, ancient grains, or added herbs and spices. Adjust settings like crust color and loaf size to suit your creations. For sweeter options, try incorporating fruits or nuts, while savory variations can include cheese or seeds. The machine’s programmable features enable precise control over kneading, rising, and baking times, ensuring your custom recipes turn out perfectly. Don’t hesitate to explore and innovate, as the Kenmore Bread Maker is designed to accommodate a wide range of culinary ideas and dietary needs.
Maintenance and Care
Regularly clean the bread maker to remove dough residue and crumbs. Check for worn-out parts and replace them as needed. Store the appliance in a dry, cool place when not in use to ensure longevity and optimal performance.
7.1 Cleaning the Bread Maker
Regular cleaning is essential for maintaining your Kenmore Bread Maker’s performance and longevity. Always unplug the appliance before cleaning to avoid accidents. Use a soft, damp cloth to wipe down the exterior, removing any splatters or debris. For the interior, including the bread pan and kneading paddle, wash them with warm, soapy water after each use. Avoid using abrasive cleaners or scrubbers, as they may damage the surfaces. Dry all parts thoroughly to prevent rust or mold; The crusty bread pan can be soaked in warm water to loosen tough residue. Cleaning regularly ensures optimal hygiene and prevents dough from sticking during future use.
7.2 Storage and Maintenance Tips
Proper storage and maintenance are crucial for extending the life of your Kenmore Bread Maker. Store the appliance in a cool, dry place, away from direct sunlight and moisture to prevent damage. Ensure the unit is unplugged when not in use for safety. Regularly inspect the bread pan and kneading paddle for wear and tear, and replace them if necessary. For maintenance, check and update the appliance’s software if applicable, and ensure all moving parts are well-lubricated. Avoid using harsh chemicals or abrasive cleaners, as they can damage the exterior finish. Clean the appliance thoroughly after each use and store it in a protective cover to shield it from dust. Proper care ensures optimal performance and longevity.

Troubleshooting Common Issues
Identify and resolve common issues with your Kenmore Bread Maker, such as uneven baking, faulty sensors, or motor malfunctions. Consult the manual for solutions and reset procedures to restore normal function and ensure consistent bread-making results. Regular maintenance and proper usage can prevent many issues, ensuring your appliance operates efficiently. Always refer to the troubleshooting guide for detailed instructions and avoid using the machine if a problem persists to prevent further damage. This section helps you diagnose and fix problems quickly, keeping your bread maker in optimal condition. Follow the steps carefully to maintain performance and longevity of your appliance.
8.1 Common Problems and Solutions
The Kenmore Bread Maker may encounter issues like uneven baking, stuck paddles, or faulty sensors. For uneven baking, check oven placement and ensure proper dough consistency. If paddles stick, clean them regularly and lubricate lightly. Faulty sensors can be reset by unplugging the machine, waiting 30 seconds, and plugging it back in. Motor malfunctions may require professional repair. Always refer to the user manual for specific troubleshooting steps. Regular maintenance, such as cleaning and updating settings, can prevent many issues. If problems persist, contact Kenmore support or consult the warranty information for assistance. Proper care and timely solutions ensure optimal performance and longevity of your bread maker.
8.2 Resetting the Bread Maker
Resetting your Kenmore Bread Maker is a straightforward process to restore factory settings or resolve operational issues. Start by unplugging the machine from the power source and waiting for 30 seconds. This allows the internal systems to fully power down. Plug the machine back in and ensure it is properly connected. Some models may require pressing and holding the “Start/Stop” button for 5-10 seconds to complete the reset. After resetting, test the machine by running a simple cycle to ensure it functions correctly. If issues persist, consult the user manual for specific reset instructions or contact Kenmore support for further assistance. Regular resets can help maintain optimal performance and prevent software glitches.

Warranty Information
The Kenmore Bread Maker is backed by a limited warranty covering defects in materials and workmanship for a specified period. Registration is recommended for warranty validation. For details and claims, visit the official Kenmore website or contact customer support.
9.1 Warranty Coverage
The Kenmore Bread Maker is protected under a limited warranty that covers manufacturing defects and workmanship issues for a specified period. This warranty ensures repairs or replacements are provided free of charge for any faulty parts or malfunctioning units. Coverage typically includes defects in materials and construction but may exclude damage caused by misuse, improper maintenance, or normal wear and tear. It’s essential to review the warranty terms carefully to understand what is covered and for how long. Keeping the purchase receipt and product registration can also help facilitate warranty claims. For more detailed information, refer to the official Kenmore website or contact their customer support team.
9.2 Filing a Warranty Claim
To file a warranty claim for your Kenmore Bread Maker, contact Kenmore customer support directly through their official website or by phone. Provide proof of purchase, such as a receipt or invoice, and a detailed description of the issue. In some cases, Sears Parts Direct may be involved in processing the claim or providing replacement parts. Ensure all documentation is complete and accurate to avoid delays. Once verified, Kenmore will either repair or replace the unit free of charge if the issue falls under warranty coverage. Be aware that shipping or handling fees may apply for parts or repairs. Follow the instructions provided by the support team to complete the process efficiently.
Additional Resources
Explore additional resources for your Kenmore Bread Maker, including official support, community forums, and online guides, offering troubleshooting tips, recipes, and advice for optimal use.
10.1 Official Kenmore Support
The official Kenmore support website provides comprehensive resources for your bread maker, including downloadable user manuals, troubleshooting guides, and FAQs. Visit Kenmore.com to access detailed product information, warranty details, and repair services. Sears Parts Direct offers genuine replacement parts and diagrams for various Kenmore bread maker models, ensuring easy maintenance and repairs. Additionally, Kenmore’s customer service team is available to assist with inquiries, providing expert guidance for optimal appliance performance. For models like the Kenmore 48487 or 100.12934, official support ensures you can resolve issues quickly and efficiently, keeping your bread maker in top condition. Utilize these resources to maximize your appliance’s functionality and longevity.
10.2 Community and Forum Support
Beyond official support, the Kenmore bread maker community offers valuable resources through forums and online groups. Users share recipes, troubleshooting tips, and maintenance advice, fostering a collaborative environment. Websites like Kenmore Appliances Community and Bread Maker Forums host discussions on models such as the 48487 and 69623. These platforms allow users to exchange ideas, resolve common issues, and learn from others’ experiences. Additionally, downloadable user manuals and custom recipes are often shared, enhancing your bread-making journey. Engaging with these communities provides practical insights and tips for optimizing your Kenmore bread maker’s performance and exploring its full potential.
Accessories
Accessories like additional pans, paddles, and recipe booklets enhance your bread-making experience. These items are available online and through Kenmore’s official support channels for purchase.
11.1 Available Accessories
The Kenmore Bread Maker offers various accessories to enhance your baking experience. These include additional bread pans, kneading paddles, and measuring cups. Optional recipe booklets provide diverse bread recipes. These accessories are designed to maintain consistency and quality in bread making. They can be purchased through Kenmore’s official website or authorized retailers. Ensure compatibility by checking model numbers before purchase. Accessories are durable and easy to install, extending the functionality of your bread maker. Regularly updating your collection ensures you can explore new recipes and techniques with ease.
11.2 Using Accessories
Using accessories for your Kenmore Bread Maker enhances your baking experience. Start by ensuring all parts are clean and compatible with your model. The bread pan and kneading paddle are essential for mixing and baking. Measure ingredients accurately using the provided measuring cups. For added convenience, refer to optional recipe booklets for diverse bread options. Always follow the manual’s guidelines for installing and maintaining accessories. Regularly clean and store them properly to ensure longevity. If you need additional accessories, visit Kenmore’s official website or authorized retailers. Proper use of these tools ensures consistent results and expands your creative possibilities in bread making.
Tips for Optimal Use
Ensure optimal bread-making by maintaining proper room temperature, using high-quality ingredients, and minimizing lid opening during cycles. Utilize the delay start feature for fresh bread preparation.
12.1 Best Practices
- Always measure ingredients accurately for consistent results.
- Use high-quality yeast and fresh ingredients to ensure proper rise and flavor;
- Avoid opening the lid during the baking cycle to maintain even cooking.
- Regularly clean the bread maker to prevent residue buildup and bacterial growth.
- Experiment with recipes gradually to understand how ingredients interact.
- Store the bread maker in a dry, cool place when not in use.
- Refer to the user manual for specific settings and troubleshooting tips.
By following these best practices, you can extend the lifespan of your Kenmore Bread Maker and achieve professional-quality bread at home.
12.2 Avoiding Common Mistakes
- Avoid overloading the bread maker, as this can disrupt even cooking and damage the machine.
- Never use expired yeast, as it may not activate properly, leading to poor rise.
- Ensure all ingredients are at room temperature for optimal performance.
- Don’t skip the initial dough preparation phase, as it ensures proper kneading.
- Avoid opening the lid during the baking cycle, as it can cause uneven cooking.
- Never ignore the user manual’s guidelines for ingredient measurements and settings.
- Regularly clean the pan and paddles to prevent residue buildup.
- Don’t store the bread maker in humid environments to avoid mold growth.
By avoiding these common mistakes, you can ensure your Kenmore Bread Maker operates efficiently and consistently delivers high-quality bread. Proper care and attention to detail will enhance both performance and longevity.